
The problem with the manual is that is expects that you have at least a rudimentary knowledge of sewing in order to understand what it is saying. Now my only real experiences with a sewing machine were in Young Women's when I was a teenager, and none of those experiences ended well. I think most of the time my leaders would have pity on me (or maybe their machines) and would do/finish the project for me. So as the manual is explaining what to do, I am mostly staring at it thinking, huhhh!
In the end I looked at the pictures in their and the diagrams on top of the machine and for the most part figured out the basics of threading the bobbin, putting the bobbin in and threading the tread. The next day I spent a bit of time trying out some stitches and seeing what the machine could do. Honestly, I was having a lot of trouble getting it to look right, but I kept going for a while. I used some fabric scraps from a friend and stitched a few pieces together. They looked terrible, but hey it was my first shot.

Now having accomplished the first night of sewing and not destroying the machine or myself I decided it was time to do a real project. Yes, I know my first attempt sucked, but might as well try to make something real and see what happens, right!?!
I found on Pinterest a great tutorial on making a rag quilt several months ago and she said that it was a great beginners project, so I decided to test that out. Here is her site and here is a picture of the quilt that she made.

I guess I could have tried to mimic it more and make a girl quilt, but I decided to try to make a blanket for Benjamin. The other kids can be jealous, but as he will be the newest baby, he gets to have something that is just for him.
So off to Walmart the kids and I went and we picked out some wonderful fabrics that I just loved, so did Jonathan. He is jealous of the sports fabric especially.

These are the four fabrics and the basic plan of setting them up.

My very first pieces sewn. Not too bad, the lines are even somewhat straight.

The main pieces stitched.

All the of the pieces pieced and layed out.

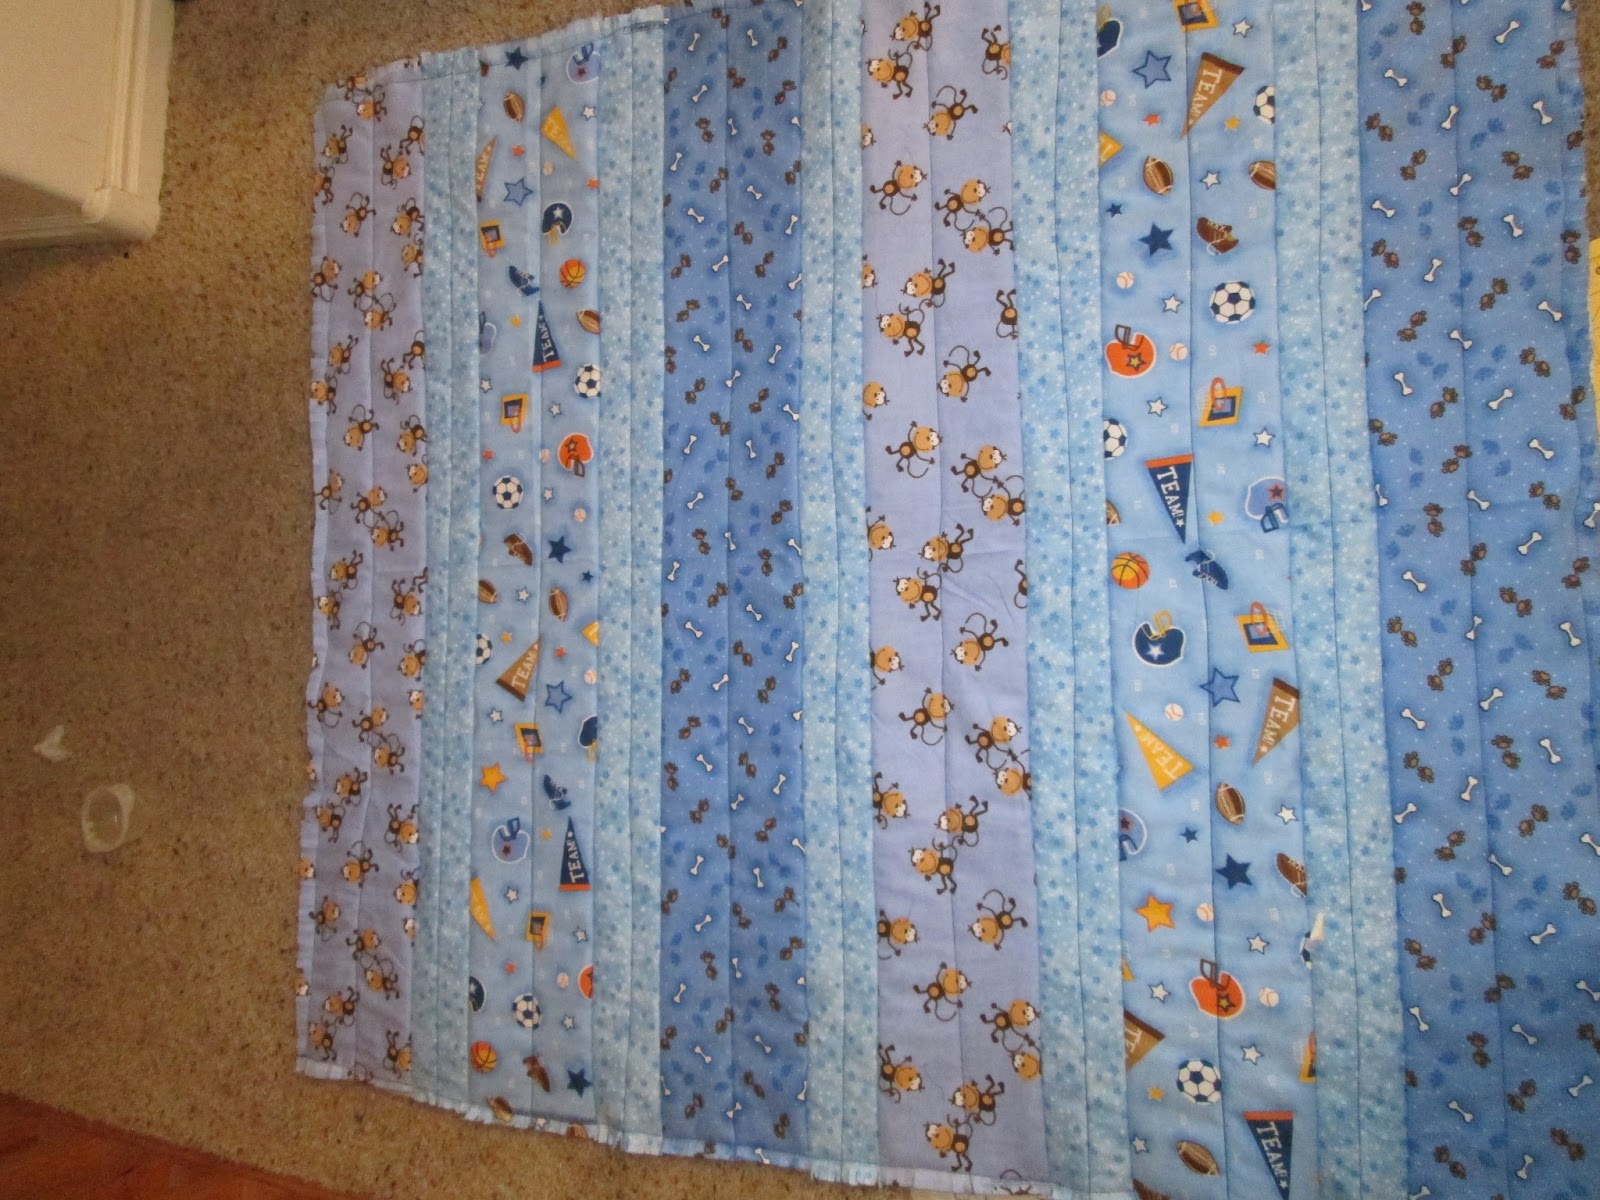
The flat side after everything is sewn together.

The rag side after being sewn together.

A close up of my awesome sewing, okay, okay, don't laugh too much. It is still a first attempt.

The rag pieces cut.
The flat side again after the rag pieces are cut.

A close up of the finished flat side.


